Being offered an app free trial, whether it's a three-day free trial, one week-free trial, or even a month-long freebie, is a tempting and frequently useful offer. I watch sports exactly once every four years, so a free trial enables me to watch the few games of the FIFA Women's World Cup that I care about without signing up for a whole platform I wouldn't use outside of a six week window. They're also perfect for their intended purpose of testing out an app to see if it's something you want to subscribe to. Unfortunately, it can also be a money drain when you forget to cancel and end up with charges on your card for apps you don't want. Here is how to enjoy free trials without ever seeing a charge.
Cancel the App Right Away
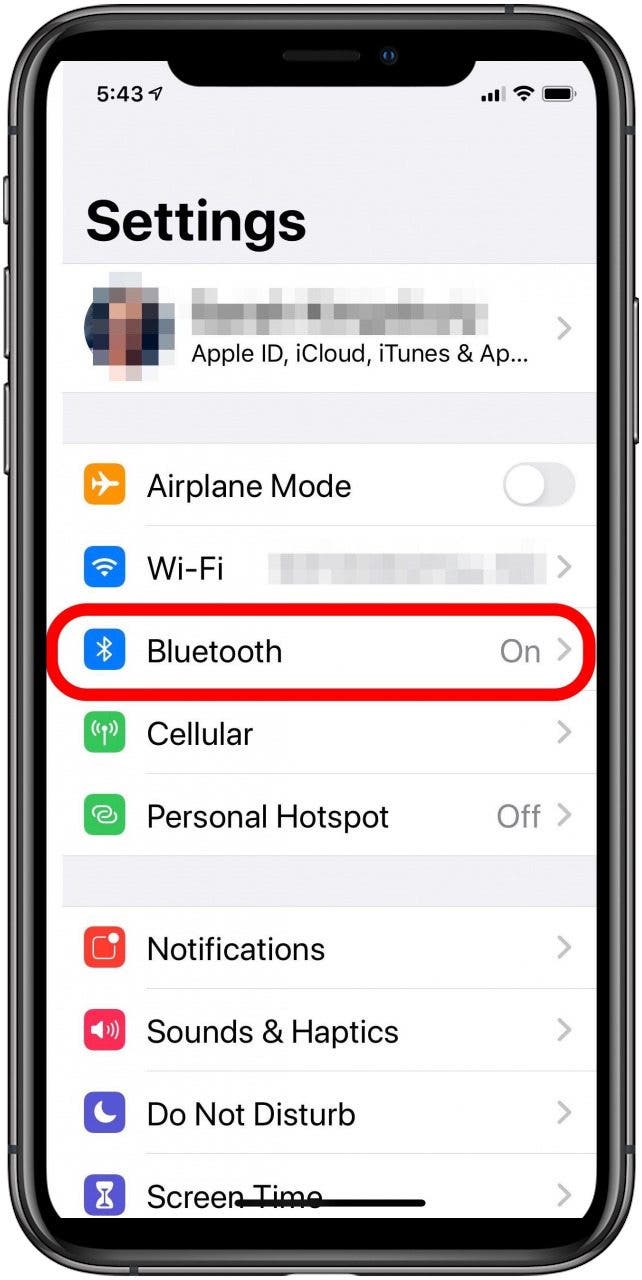
The first thing to check is, how does the free trial work? Most apps will allow you to cancel your app subscription while still getting the free trial. If this is the case, cancel the app as soon as you download it so you don't have to give it another thought. Here's how to cancel an app free trial so you can continue to use it until the trial ends:
- Open the App Store.
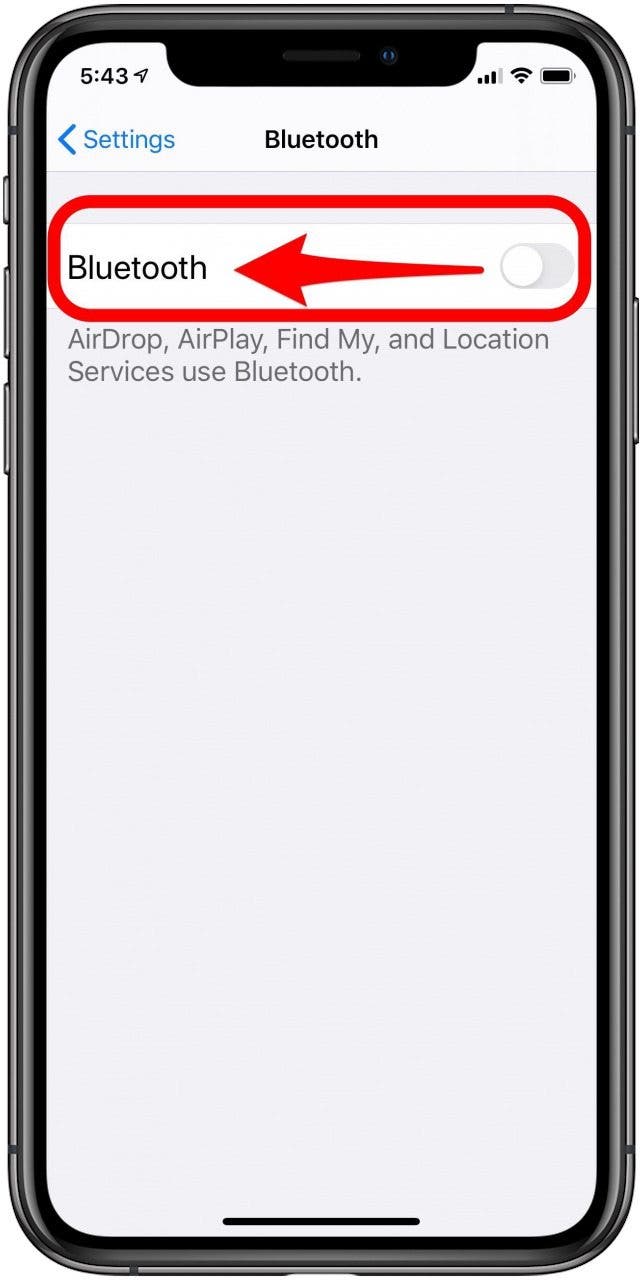
- On the top right of the screen, tap your profile icon.
![]()
![]()
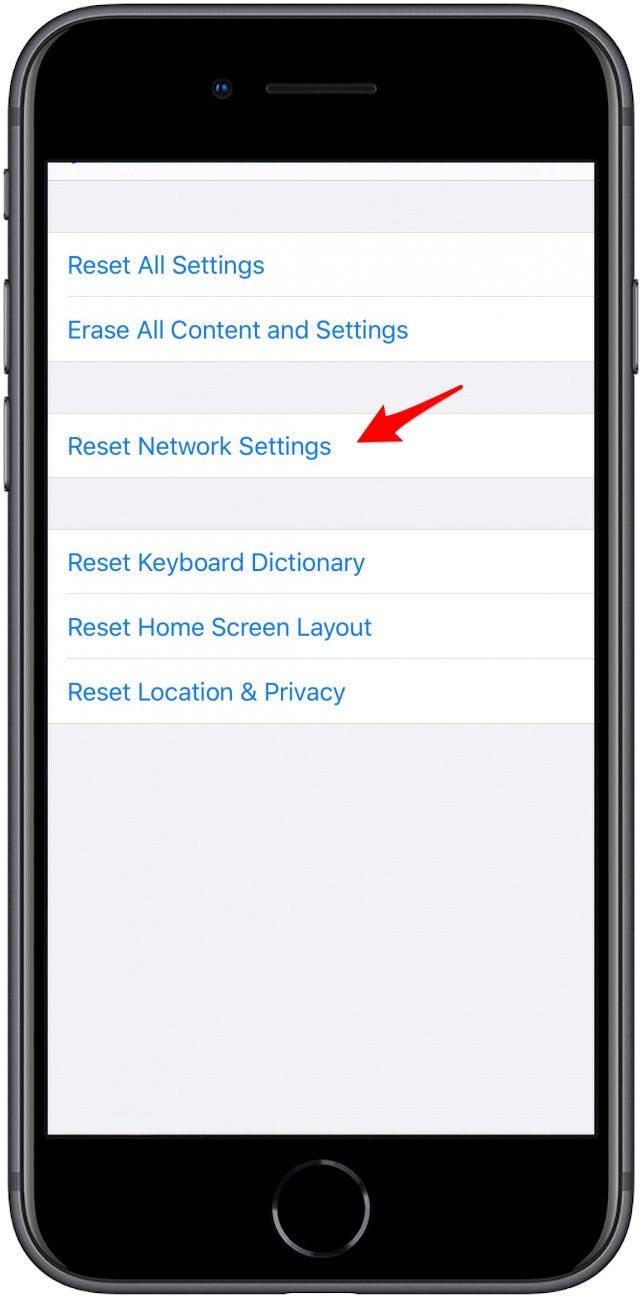
- Tap Subscriptions.
- Tap the app with the free trial.
![]()
![]()
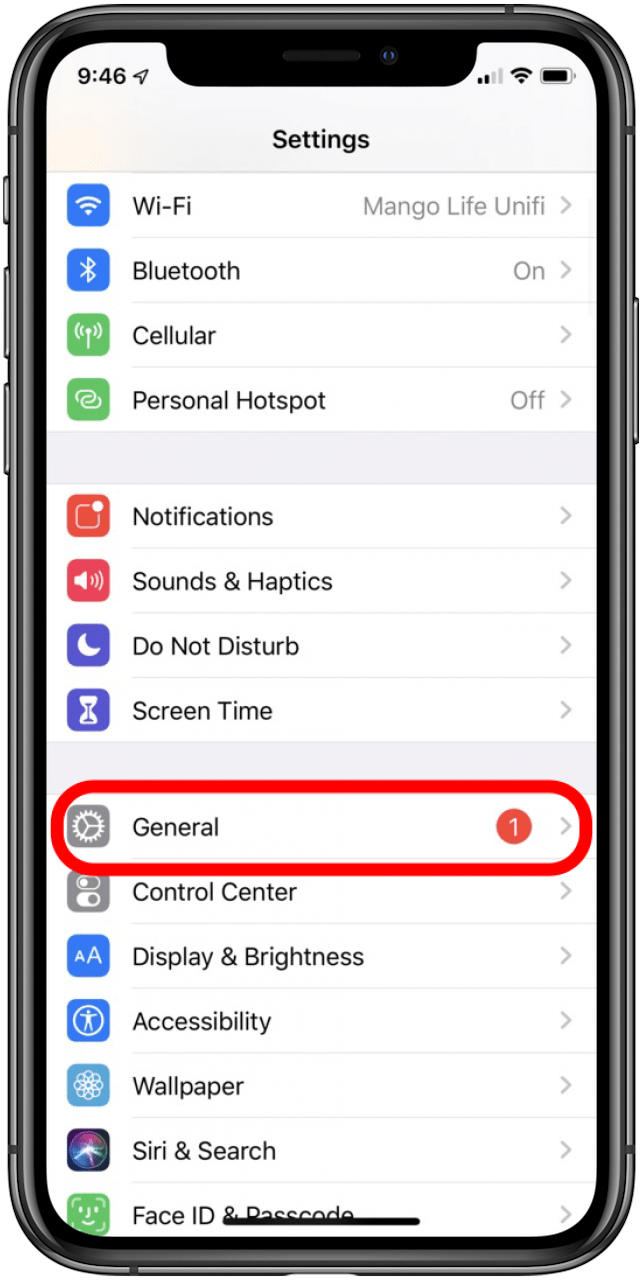
- Tap Cancel Free Trial.
- A pop-up will appear letting you know when your trial will expire. Tap Confirm.
![]()
![]()


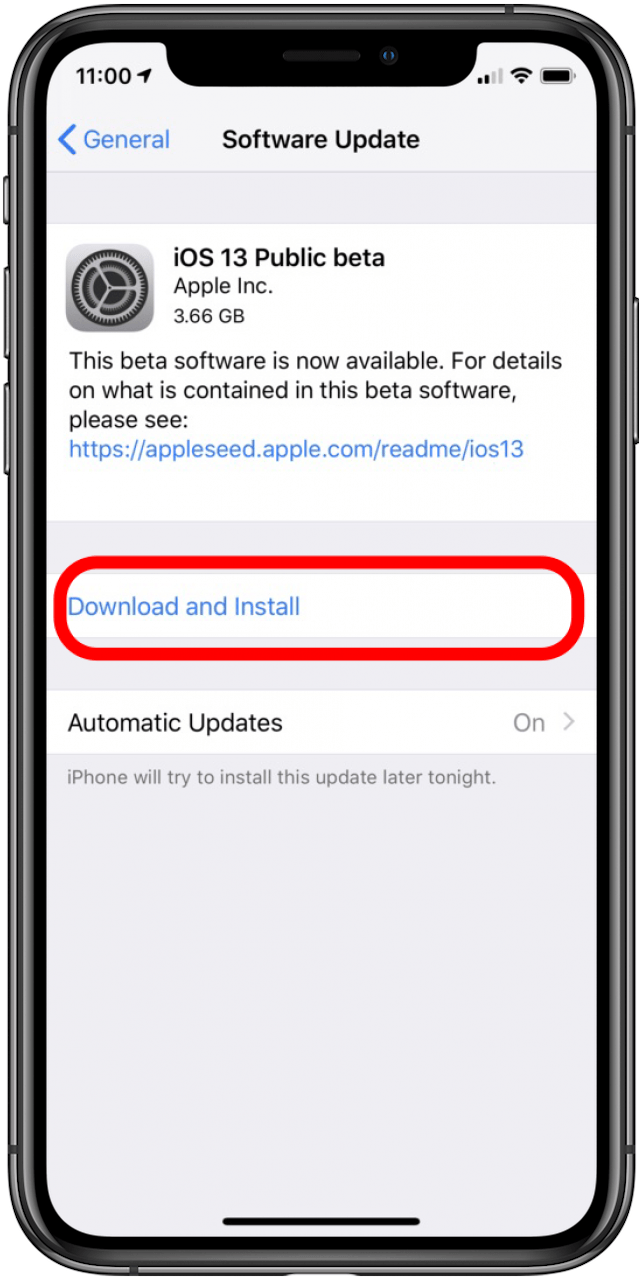
This will allow you to enjoy your free trial without an autorenewal at the end.
Set a Reminder
Some apps, however, will cancel the free trial altogether if you follow the steps above, and no longer allow you to use it. When this is the case, the best thing to do is to set a reminder for at least 24-hours before the trial ends. This keeps you from getting hit with a charge the day the trial ends, and avoids any ambiguous phrasing the company might have regarding whether you'll be charged on the last day or if it's included in your free trial. To set a reminder just:
- Open your Reminders app.
- Tap New Reminder.
![]()
![]()
- Enter your reminder title and description.
- Tap Details.
![]()
![]()
- Toggle Date on and select the date and time you want to be reminded. Make sure the time is more than 24 hours before your free trial expires.
- Tap Add.
![]()
![]()


You can also set a reminder using Siri. Just say something like, "Hey Siri, set a reminder for August 18." Siri will ask you what you want to be reminded about and you can provide the name and details of your cancellation reminder then. Whichever way you decide to set a reminder, you'll be notified the before your free trial is up to cancel your app.
Use a Virtual Credit Card
If you are unwilling to let the app you're trying out have your credit card information at all, apps like DoNotPay can help you out. The service has a program specifically designed for free trials, whereit creates a virtual credit card for you to use. This means it basically creates temporary credit card information for you, similar to how chips help encrypt credit card info, that can be used only once and needs authorization. DoNotPay will flag the charge as a free trial, and decline any charges that are sent its way. The virtual card is also short-lived, so the information will expire quickly and never be able to be used again. So not only will its monitoring decline any app charges, but your information will be kept safe from anyone trying to steal or misuse it, since the only thing the internet will see is the shell information. It's important to note that there is no credit card fraud here, just perfectly legal data protection.
With these three tools to keep you on top of your game, enjoy all the free app trials you want without ever seeing another charge.


* This article was originally published here