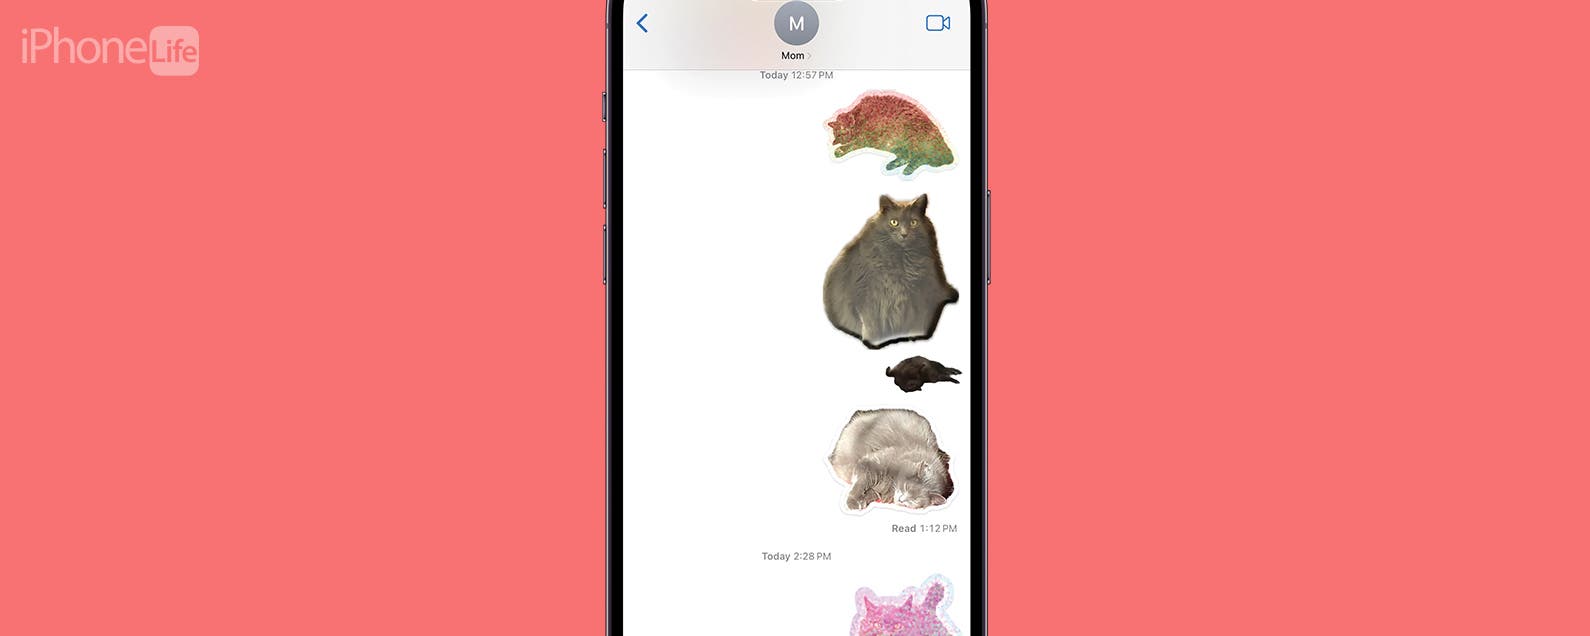
iOS 17 has brought with it a bunch of cool new features. But the new Custom Photo Stickers is my favorite update yet. With iOS 16, we gained the ability to remove an image from the background of a photo. This takes that concept, streamlines it, and then gives us a bunch of new and fun ways to customize it. Here's how to make a sticker from a photo on iPhone with iOS 17.
Why You'll Love This Tip:
* Create stickers of various subjects that will be accessible through the emoji keyboard wherever you're typing.
* Add effects to the stickers, like making them a GIF, turning them holographic, and more.
How to Make an Image a Sticker with iOS 17
System Requirements:
In order to use this tip, you will need to have updated to iOS 17 on any of the following devices:
* iPhone 14, 14+, Pro, Pro Max
* iPhone 13. 13 mini, Pro, Pro Max
* iPhone 12, 12 mini, Pro, Pro Max
* iPhone 11, Pro, Pro Max
* iPhone XS, XS Max
* iPhone XR
* iPhone SE (2nd Gen or later)
Before we get started, there are a few important things to note. Firstly, to create an animated sticker on the iPhone, you will need to choose a Live Photo. You can create static stickers with any photo, but for the sticker to be animated, the photo needs to be a Live Photo. While you will be able to send the stickers to almost every texting application, some apps are not yet updated to allow the sticker to be animated. Additionally, the stickers will sometimes remain very small and blurry. This happened when we shared our own stickers in the iPhone Life company Slack.
Another problem people tend to have with the feature is that it struggles to pick up the subject. Not all photos have a clearly defined subject for the AI to identify, so try to choose photos where there is a clear subject. Users also find that sometimes the Live Sticker option is finicky, and it seems to only work within the Messages app at present. Hopefully, though, this feature will be able to work across more Apple native apps and others with future updates.
Lastly, it's important to remember that the other person you are sharing the sticker with must have updated to iOS 17 to see the intended result. With all that being said, this feature is still very cool nonetheless. Here's how to do it!
How to Make iPhone Emoji Stickers from a Photo
This feature is so much fun to use, and I've already created many stickers of my cat and sent them to my family and friends. If you like being in the know about the latest Apple software updates, be sure to sign up for our free Tip of the Day!
* Open the Photos app and select a picture where the subject clearly stands out from the background. Additionally, choose a Live Photo if you want the sticker to be animated.
* Tap on the image.
* Then, tap and hold for a quick moment directly on the subject to bring up the menu. You will know the subject has been highlighted because there will be a silver line around the border of the subject.
* Tap Add Sticker.
* Next, if you want to add an effect, tap Add Effect.
* From here, you can choose the Original option.
* With the Original option, you can also tap Live in the corner as long the photo you chose was a Live Photo to animate your sticker.
* You can also choose Outline, which gives your subject a thick white outline, just like a real sticker.
* The Comic option will turn your subject into a drawing.
* The Puffy option makes the sticker look like a 3D puffy sticker. You can tilt your iPhone to play with the shadows and light to see that it's 3D.
* And lastly, there's the Shiny option, which turns your sticker holographic. This one is the most interactive when you move your iPhone directionally.
* Tap Done to save your sticker.
* Now, to paste a sticker, open the Emoji Keyboard anywhere you can type.
* Swipe from left to right to access all saved stickers.
And that's how to use the cool new feature called Custom Photo Stickers that comes when you update your iPhone to iOS 17!
How-ToiPhoneMessagesPhotosKeyboardLive PhotosCommunicationMaster your iPhone in one minute a day: Sign up here to get our FREE Tip of the Day delivered right to your inbox.
http://dlvr.it/St8dDs

No comments:
Post a Comment