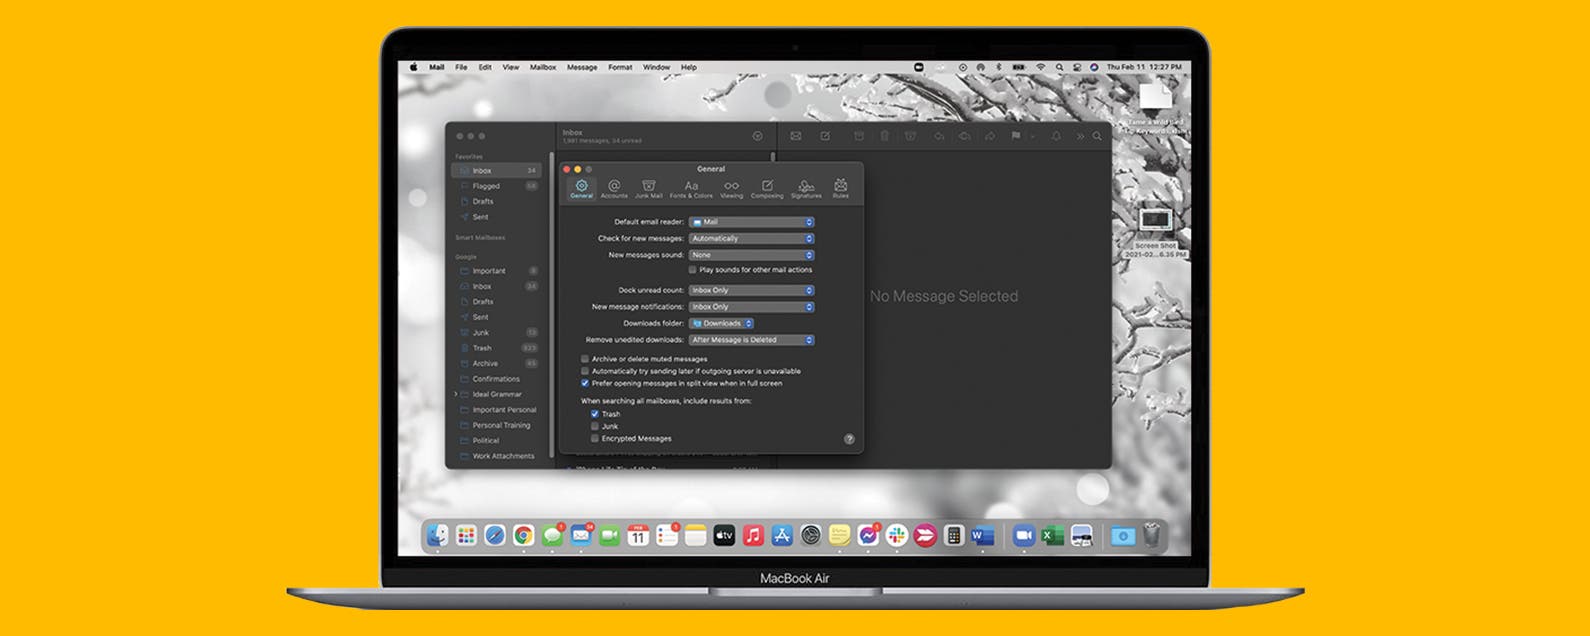
If you’re ready to stop jumping from one email app to another, it’s time to set up your Apple Mail. Our handy guide walks you through Apple Mail setup and shows you how to add an email account on Mac, adjust Mac Mail settings to your liking, and customize Mac email notifications.
Jump to:
* What is the Apple Mail App on a Mac?
* How to Add Your Email to Apple Mail
* How to Check for New Emails on the Mac Mail App
* How to Choose Your Mac Email Notifications Sound
* How to Add a Signature to Mac Email
What is the Apple Mail App on a Mac?
Apple's Mail app is the Mac email app, and the email app used on other Apple devices. With this convenient app, you don’t need to go to your email service website or jump from one app to another to check multiple email accounts. If you use Gmail for personal messages, a work account for business, and a carrier-specific email for household matters, Mail is the way to consolidate and organize your communications in one general mail app.
Related: How to Transfer Photos from iPhone to Computer
How to Add Your Email to Apple Mail
When you open Mail for the first time, the app will prompt you to set up an email account. If the app doesn’t prompt you to set up mail on Mac or you want to add another email account to the app, just follow these steps:
* Open the Mail app on your Mac.
* In the menu bar at the top of the screen, click on Mail.
* Click on Add Account.
* Select your email provider or choose Other Mail if your domain does not appear on the list.
* Click Continue.
* Enter your email login information. If your email provider requests it, complete the authentication and allow permissions using your web browser.
* Choose which apps you’d like to use with this account and click Done. Your emails will automatically appear in the Mail inbox.
Repeat these steps to add more email accounts to your Mail app on a Mac.
How to Check for New Emails on a Mac in the Mail App
By default, your Mail app is set up to automatically check for new emails and show them in your inbox. Here are the steps for how to refresh mail on Mac and change your mac mail settings to refresh manually or on a different schedule:
* Open the Mail app on your Mac.
* In the menu bar at the top of the screen, click on Mail.
* Click on Preferences.
* On the General tab, use the drop-down menu to decide how often Mail should check for new messages.
* Any time you wish to refresh manually, just click on the envelope icon at the top.
How to Choose Your Mac Email Notifications Sound
With the Mac Mail app, you can choose the notification sound for your new email alerts:
* Open the Mail app on your Mac.
* In the menu bar at the top of the screen, click on Mail.
* Click on Preferences.
* On the General tab, use the drop-down menu to choose your favorite notification sound.
How to Add a Signature to Mac Email
Mail preferences also lets you add multiple signatures to each of your email addresses:
* Open the Mail app on your Mac.
* In the menu bar at the top of the screen, click on Mail.
* Click on Preferences.
* Click on the Signatures tab.
* Select the account to which you’d like to add the signature and click the + button.
* Double click on the middle window to change the name of your signature.
* To customize your signature, click on the window on the right-hand side and type your own signature.
If you’ve had your eye on the Apple Mail icon on your Mac’s Dock but don’t use the app yet, it’s time to make the switch. Once you understand how to add an email account on Mac, it’s smooth sailing from there. With this easy-to-use app, you’ll boost your productivity and keep your emails organized in a single place. Topics: AppsHow-ToApple AppsMailMaster your iPhone in one minute a day: Sign up here to get our FREE Tip of the Day delivered right to your inbox.
http://dlvr.it/RsrPrb

No comments:
Post a Comment