Apple pay is a quick and convenient way to send and receive money through your iPhone. A common question with this feature, though, is: "Can you transfer Apple Pay to the bank?" Yes! Not only is it possible, but it's easy and efficient. Without this capability, Apple Pay would be unable to reach its potential as a full-service payment platform, and limit users greatly in how they could use the money they receive. Let's look at how to transfer Apple Cash to the bank and get the most out of this service.
How to Transfer Apple Cash to Your Bank
- Open the Wallet app or tap the Wallet icon in Control center. If you are on an iPad you can find Wallet & Apple Pay in Settings.
- Tap your Apple Cash card.
![]()
![Choose your Apple Card to transfer Apple Pay]()
- If you are on an iPhone, tap the More button.
- Tap Transfer to Bank.
![]()
![]()
- If you haven't yet linked your bank account, enter your Routing and Account numbers, then confirm by entering them again.
- Enter the amount you would like to transfer, then tap Next.
![]()
![]()
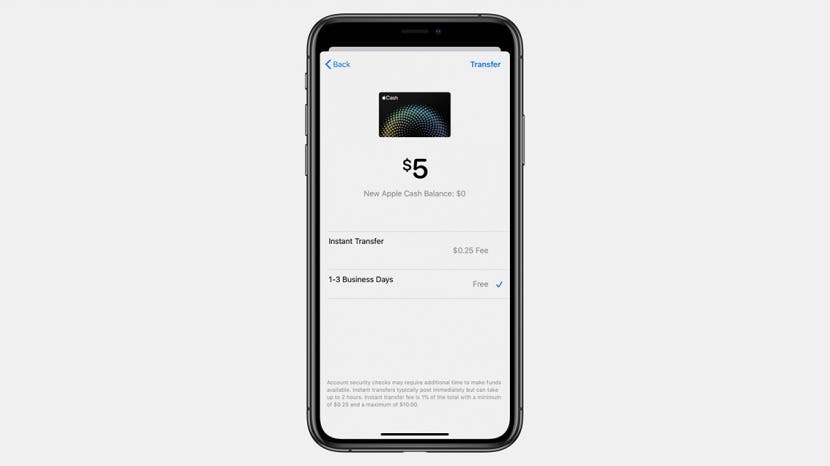
- Select either Instant Transfer, which comes with a $0.25 fee, or 1–3 Business Days, which has no fee.
- Tap Transfer.
- A notification will pop up at the top of your screen to let you know the transfer request was successful.
![]()
![]()
You now know how to transfer Apple Pay to your bank. If you selected Instant Transfer, you will see the money in your account within thirty minutes. 1–3 Business Days will take longer but will show up in one to three business days, as its name suggests. Once you have entered your bank account info once, you won't have to do it again.
For more great Apple product tutorials, check out our Tip of the Day.
* This article was originally published here


No comments:
Post a Comment